

You stand in front of 30 students. You just taught fractions, and every head is nodding. But nodding tells you nothing. Linear notes and worksheets hide the one thing you need to see: how each student is actually thinking. Mind maps make that thinking visible on the page, branch by branch. A student's map shows you their reasoning, not just their final answer. You can see where a topic connects for a student, and where it falls apart.
Paper maps do this well, and a stack of sticky notes still works. A digital tool adds something paper can't. MindMeister makes classroom mind mapping collaborative, shareable and persistent. Students keep building the same map, outside class. You see everyone's thinking in one place instead of collecting 30 sheets. And a finished map is shared as a link, not a pile of paper. That shift from private notes to a shared, living map is what makes mind mapping in education practical at the classroom scale.
How teachers use mind maps for lesson and unit planning
Mind mapping for education is usually framed as a student activity. It works just as well as a planning tool for you. Before a map reaches your students, it can reshape how you prepare.
Start with a single lesson. Put the lesson topic at the center and branch out into the parts you'd normally bury in a table:
Objectives: what students should know or do by the end
Activities: the tasks that get them there
Resources: slides, worksheets, and equipment you'll need
Assessment: how you'll check understanding in the moment
Timing: roughly how long each part should take
A Year 8 photosynthesis lesson might branch into "recall prior learning," "leaf structure," a "test for starch" practical, and "10 minutes on key words." You see the whole lesson at a glance before you write a word of the formal plan. You also catch imbalances fast, like a lesson that's all input and no practice. If you want a repeatable structure, learn how to build a lesson plan mind map and reuse it every week.
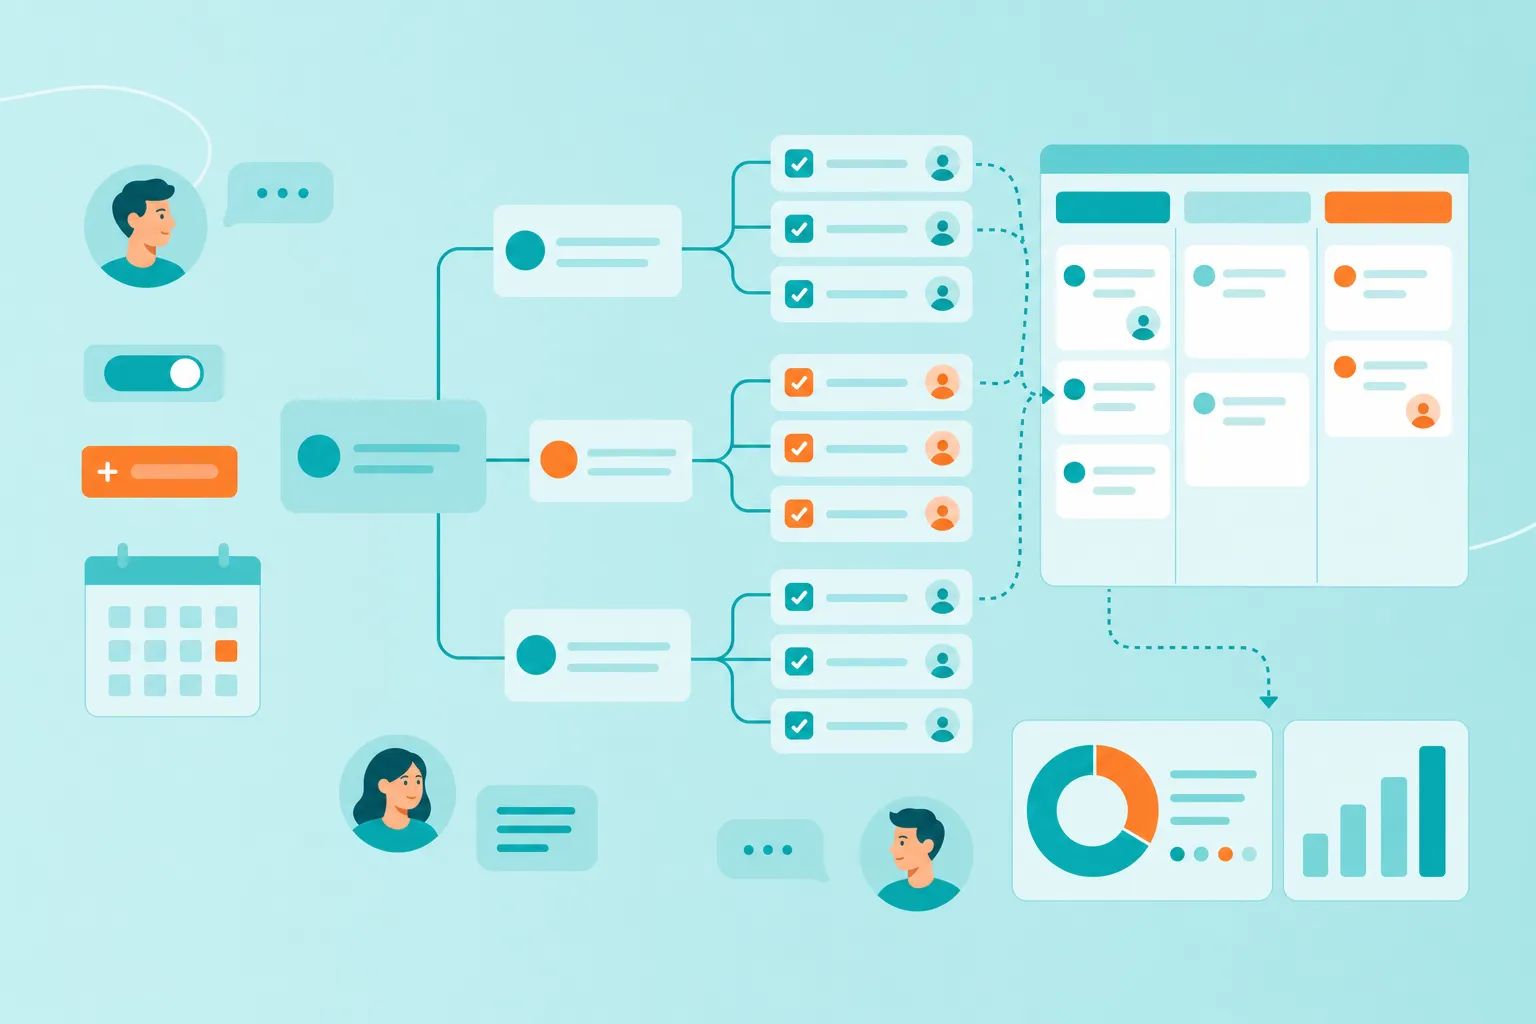
Now zoom out for a unit or half-term. Place the unit theme at the center and make each lesson a branch, ordered sequentially. You can see how concepts build from one week to the next, and you spot the gap where a skill has no home. A branch with no assessment node, or a term that never gets revisited, jumps out immediately. This is where curriculum and unit planning in MindMeister earns its place: The map stays live, so you adjust the sequence as the term unfolds instead of redrawing a static document.
How to use mind maps in the classroom
Once planning is done, how do mind maps actually work in a live lesson? Four uses cover most of what you'll need.
Activating prior knowledge
At the start of a unit, hand students a blank map with a single word at the center — "fractions." Give them 3 minutes to add everything they already know. What comes back tells you where to start. One class might branch confidently into "halves" and "quarters," then stall. Another might write "the bottom number is how many pieces." That misconception is now visible, and you can teach into it instead of around it. Save that map. When the unit ends, students reopen it and see how much their understanding has grown.
Note-taking during a lesson
Ask students to build a map as you teach, not after. Each new idea becomes a branch. During a lesson on the causes of World War I, the center holds the event, and branches grow as you introduce alliances, imperialism, and the assassination in Sarajevo. Encourage color: one shade for causes, another for consequences. The map ends the lesson as a structured summary that the student built themselves, not a wall of copied text. Because the branches are theirs, they recall the shape of the lesson later, not just the words.
Group brainstorming and discussion
Put small groups on one shared map at the same time. In MindMeister, real-time collaboration lets 4 students add branches to the same map simultaneously from 4 devices. You keep control of the pace by handing each group a starter branch and a time limit. Each group's map then becomes a resource for whole-class discussion. You project a group's map, compare it to another, and let the class spot what's missing. In a design-and-technology class, one group maps materials while another maps costs, then you merge the strongest branches into a shared plan. For more starting points, these student brainstorming examples offer group activities you can adapt. The talk gets sharper because everyone is thinking the same.
Revision and retrieval practice
At the end of a unit, ask students to rebuild the whole topic from memory: no notes, blank map, everything they can recall. Only then do they open their books and add what they missed in a different color. Ask them to compare their rebuilt map with a partner's before checking, so gaps surface through discussion first. This pairs mind mapping with active recall techniques for students, among the most reliable ways to move learning into long-term memory. The gaps they fill in are exactly what they need to revise.
How to use mind maps for assessment
Mind maps don't just help students learn. They also show you what students have learned. That makes them a quiet assessment tool.
Diagnostic mapping. Share a map at the start of a topic and ask students to add what they already know to it. Their branches are your baseline. If a class of 30 barely fills the map, start from the ground up. If half the class races ahead, plan an extension instead. You've assessed the room before teaching a single objective. You might find a whole class confuses 2 key terms, which tells you to slow down on definitions before moving on.
Formative check-ins. Ask students to add a branch at the end of each lesson with 2 nodes — "what I learned today" and "what I'm still unsure about." Review these like exit tickets. Because the maps are shared, you can scan a class set in minutes, with no stack of paper to carry home. Over a unit, the same map becomes a record of how a student's understanding grew, lesson by lesson.
Used this way, mind maps act like visual organizers for classroom activities, a fast read on understanding, while it's still fresh.
Mind maps for different subjects and grade levels
The structure stays the same across subjects: a center, branches, and connections. The content is what changes. These mind map examples for students show the same approach across topics. Here's how it looks in 4 settings.
Primary science
The central node reads "Living things." Branches spread into habitats, life cycles, and food chains. In a starter activity, give pairs a set of animal cards and ask them to sort each one onto the correct branch. When a child insists a penguin belongs under both "birds" and "cold habitats," you've found a connection worth teaching. Later in the unit, the same map grows a "food chains" branch, and the class watches the topic build.
Secondary English
Put a novel at the center — say "Of Mice and Men." Main branches cover characters, themes, quotes, and context. When it's time to plan an essay, students trace a path across branches, linking a theme to a quote to a character. The map turns a blank page into a route through the argument. It doubles as a revision resource weeks later, when the plot fades.
Secondary history
The center holds "Causes of World War I." Branches are split into long-term causes, short-term triggers, and key figures. In a plenary, ask students to draw lines between branches, connecting militarism to the arms race, or one alliance to another. The connections are the learning, and they're visible to everyone.
 You end with a class map that shows not just what happened, but why one cause led to another.
A cross-curricular project
The center names a project, such as "Sustainability fair." Each branch is a subject that contributes: science, geography, art, and math. Across several lessons, groups add tasks under their subject branch and check off what's done. By the fair, the map turns separate lessons into a single visible project that the whole year group owns.
Getting started with mind maps in your classroom
You don't need to redesign your teaching to start. Pick a lesson and try it. First, take an upcoming lesson and map it in MindMeister before you write the formal plan, with the topic in the center and branches for your objectives and activities. Second, share the map with students as a lesson overview at the start of class, so they can see where the lesson is headed. Third, at the end, ask each student to add a branch with what they learned.
You can try all of this on paper first. A whiteboard and sticky notes prove the idea in a single lesson. A shared digital map adds what paper can't: It stays put, updates as students think, and shows you the whole class in one view.
Curious how this works beyond your own classroom? See how educators use MindMeister to plan units, run collaborative activities and check understanding across subjects and year groups. Plan your next lesson visually, and turn a topic you've taught many times into something your students can finally see.
See your classroom’s thinking in one mind map